|
|
Post by Vermin King on Jun 10, 2014 12:53:31 GMT -9
|
|
|
|
Post by wildagreenbough on Jun 10, 2014 13:54:54 GMT -9
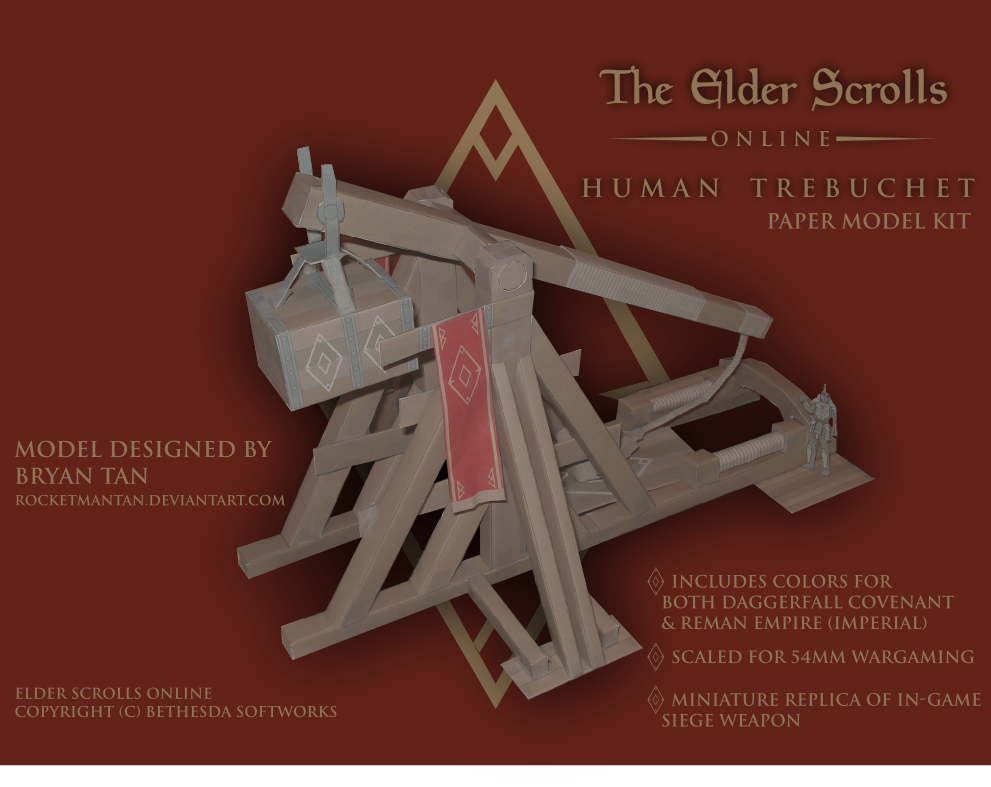
A trebuchet was a seriously large siege engine so this model might not need to be reduced in size all that much at all.
|
|
|
|
Post by pblade on Jun 16, 2014 16:45:05 GMT -9
Nice find! I built a 1:25 scale trebuchet that was created years ago by a very talented German lady. At 60% it is about 6" tall cocked, and that doesn't seem out of scale. It's a BIG machine, but that has the right feel, and it lets you use thread for rope. Here's a link if anyone is curious: papermau.blogspot.com/2012/08/medieval-trebuchet-in-125-scale-by.htmlPb |
|
|
|
Post by kirshan on Feb 7, 2015 7:36:38 GMT -9
I really like this model, but would like to have more of a wood grain texture instead of plain brown, how would I go about editing the PDF to a more detailed wood finish? I'm new to trying to edit textures any help would be great.
|
|
|
|
Post by madarchitect on Feb 7, 2015 14:03:40 GMT -9
Speaking of trebuchets. Something from my (our) polish field.More as a curiosity or anything else, as it is as a printed model and not a downloadable PDF so not so handy for most of you. (and it is in 1:25) Still, it is one of the best trebuchet models out there, it is "interactive" and it is huge (65cm=26'' high with arm in vertical position) |
|
|
|
Post by cowboyleland on Feb 7, 2015 18:58:18 GMT -9
kirshan, If you have GIMP (or probably photoshop too, but I don't know it) you can open the pdf in gimp and select each of the parts and then fill it with a wood grain of your choice. You may have to fill a second image with the grain so that you can rotate it and copy it to the clipboard so that it will run in the right directions when you paste it on the other image.
|
|
|
|
Post by kirshan on Feb 8, 2015 5:40:42 GMT -9
Thanks, Cowboyleland, I'll give that a try.
|
|
|
|
Post by Vermin King on Feb 20, 2015 13:13:29 GMT -9
kirshan, If you have GIMP (or probably photoshop too, but I don't know it) you can open the pdf in gimp and select each of the parts and then fill it with a wood grain of your choice. You may have to fill a second image with the grain so that you can rotate it and copy it to the clipboard so that it will run in the right directions when you paste it on the other image. Okay, I have a headache now. Been trying to figure out how to do this for the last few days, and Gimp Online Manual is not helpful (or I'm not looking in the right place ... probably) I have two things I would like to accomplish. First I would like to turn a papertoy into a black and white image. I thought Hackbarth had a tutorial on that, but I don't see it. Second, I want to texture it in a woodgrain to look like a woodcarving. I don't know if Kirshan has had any luck, but I know I have spent enough time on this that it is time to ask for help |
|
|
|
Post by berneart76 on Feb 20, 2015 13:22:56 GMT -9
kirshan and Vermin King. Wish I could help more, but I've been using Photoshop CS2, and to get things to black and white I've been using "Filters" and then either "Photocopy" or "Stamp" to get the effect I like. Basically these allow different levels of contrast ( dark/light ) areas to be utilized in turning a color picture into a B/W white picture. varying settings you can change the level of detail in them. I'm not sure what the equivalentin GIMP would be to Photoshop "Filter's" If you can figure this out, you can use the filter setting to get the outline of the parts, and then also to convert pictures of wood planks to get the wood grain texture to apply as an overlay. I found some things on the "Photocopy" effect and Stencils for GIMP that might help.. docs.gimp.org/en/plug-in-photocopy.htmlwww.youtube.com/watch?v=HOu_j-hActwwww.gimptutorials.eu/html/photocopy_filter_gimp.htmlwww.youtube.com/watch?v=SpcU0b_okv4
|
|
|
|
Post by cowboyleland on Feb 20, 2015 20:47:41 GMT -9
There is a thread (started by me) in the "Designing Figures" section called "The Hackbarth Process" The first post contains a link to a google translate page that tells you how to take the colour out of an image. It actually makes all the coloured areas transparent, so if you can just put a wood grain texture on a layer below you should be done. Edit: you don't have to follow the link, the tutorial has been added to the thread. And here is the link to the thread: cardboard-warriors.proboards.com/thread/4774/hackbarth-process |
|
|
|
Post by Vermin King on Feb 20, 2015 21:26:50 GMT -9
Thank you, sir
|
|
|
|
Post by kirshan on Feb 21, 2015 5:20:28 GMT -9
Thanks for the Link Cowboy, I haven't had time to truly dive into the process yet. This looks like its going to save me a few head aches.
|
|
|
|
Post by Vermin King on Feb 21, 2015 8:07:18 GMT -9
I haven't had time to dive into these either, but I'm going to. It's strange that there are so many things I can do with Gimp, but as far as doing texture fills, I can only use the pre-loaded textures, and those usually tile, so I need to learn to import and use the function. I'm going to post a link to the project that I want to do this work on, but it is a skill that I would like to use on 'less pressing' projects.
|
|
|
|
Post by cowboyleland on Feb 22, 2015 4:43:54 GMT -9
There may be a better way to do it, but what I do is find a texture I like online (an image of any kind, even a screenshot if I am desperate) and open it in its own GIMP file. Then I copy the whole image. Whatever you have copied to the clipboard becomes the first texture on the "pattern fill" list.
If it doesn't look good you can mess around with the image, just copy a section or whatever.
|
|
|
|
Post by Tooncraft3D on Feb 22, 2015 5:41:08 GMT -9
Wow that's a big one! Looks really cool with all those parts though
|
|