|
|
Post by lightning on Feb 21, 2017 2:13:31 GMT -9
Every since Michael Knobloch made his vaporator model available I was often asked for instructions. His model is one made by a pro and buildable by a pro but due to the fact that is has no instructions, glue tabs etc it was a challenge to some interested fans of this build. So after some requests I started to make an easier version. Will probably not look much different but will have all the tabs and instructions needed  So after a short research phase I started designing yesterday and come this far ...  |
|
|
|
Post by alloydog on Feb 21, 2017 9:21:15 GMT -9
That would look pretty neat next to our new Tatooine style cat-poop box... 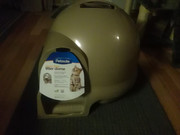 |
|
|
|
Post by lightning on Feb 21, 2017 21:14:36 GMT -9
That would look pretty neat next to our new Tatooine style cat-poop box... Haha, a vaporator scratch tree for the cat!  |
|
shep
Eternal Member
Red Alert! Shields up! LENS FLARE!!!
Posts: 1,260
|
Post by shep on Feb 21, 2017 21:36:52 GMT -9
That would look pretty neat next to our new Tatooine style cat-poop box... Haha, a vaporator scratch tree for the cat! I wouldn't build that from paper and cardboard, though...  |
|
|
|
Post by lightning on Feb 22, 2017 0:49:05 GMT -9
Haha, a vaporator scratch tree for the cat! I wouldn't build that from paper and cardboard, though... We built our (regular not vaporator) cat tree out of a real tree trunk with branches mounted on metal base. Added slices of big tree trunks as resting places on the branches and then wrapped some parts with rope, so that our house tiger is able to claw his way up and down. He loves it. It's his realm now! If he is in a bad or play mood, it can happen that he lashes out when you go by :-) Not sure if it is defending his home range or just wants to utilize his high position for an attack. |
|
|
|
Post by lightning on Feb 22, 2017 0:50:19 GMT -9
After the first build I went back to the 3D model and changed, adjusted and cleaned up the data and am now ready for the second try! 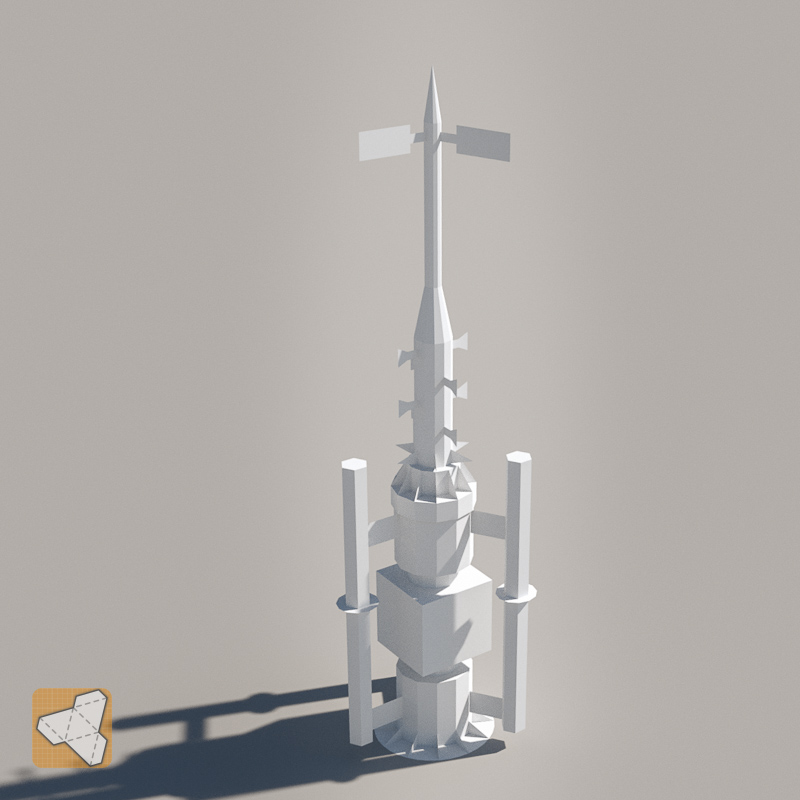 |
|
|
|
Post by oldschooldm on Feb 22, 2017 9:25:11 GMT -9
That looks pretty fiddly. Especially the "vanes" sticking off the top.
I'd never build that (but I WILL someday build your house...)
|
|
|
|
Post by lightning on Feb 22, 2017 23:15:01 GMT -9
That looks pretty fiddly. ... Oh yes it is. I am trying my best to make it as easy buildable as I can. AND the fiddly stuff is all optional. It has it's story why I am making this. Let say I learnt an important lesson and am now keeping a promise Should be fast enough to do though and I am learning a lot of new things about paper model design. So still a win for me! Plus free Star Wars models are always fun. For me and the fans. And then I am back to my barbarian village!!! |
|
|
|
Post by lightning on Feb 23, 2017 6:53:10 GMT -9
progress ... the details are actually not that bad. I added the center spine column for alignment. 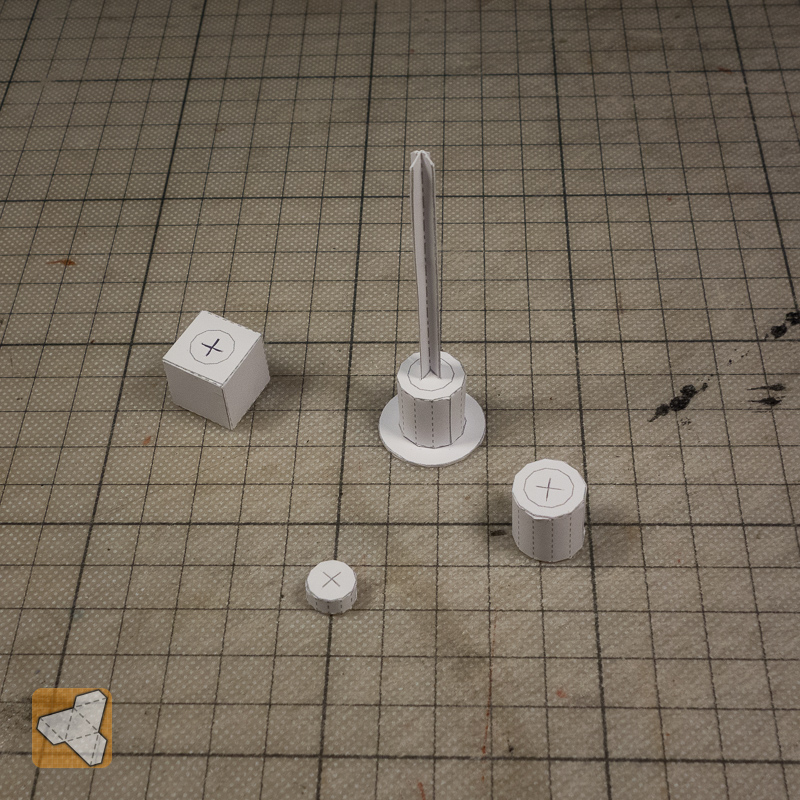 Main core tower 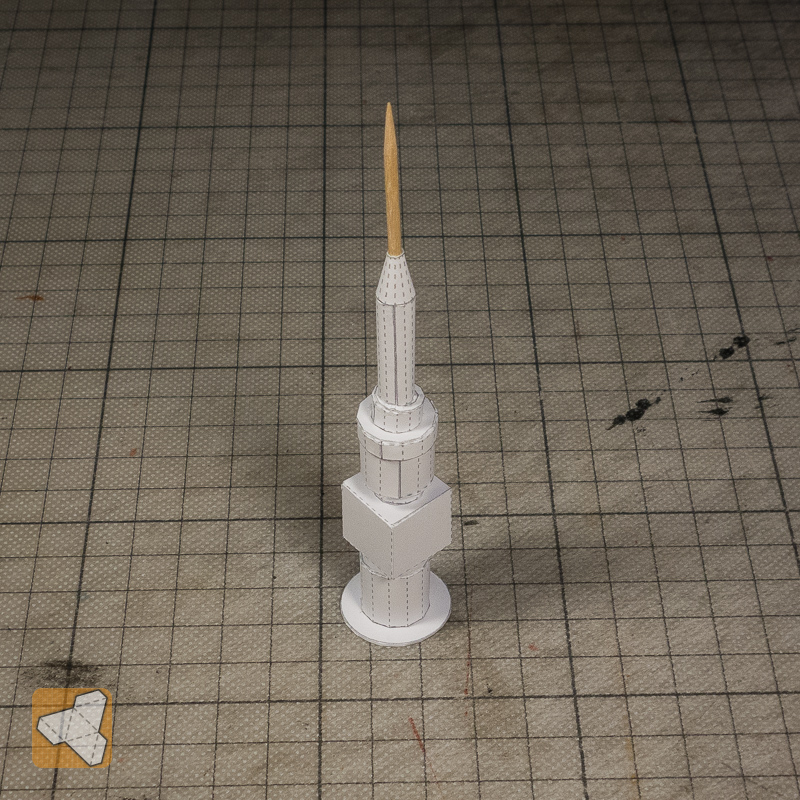 Added the details first 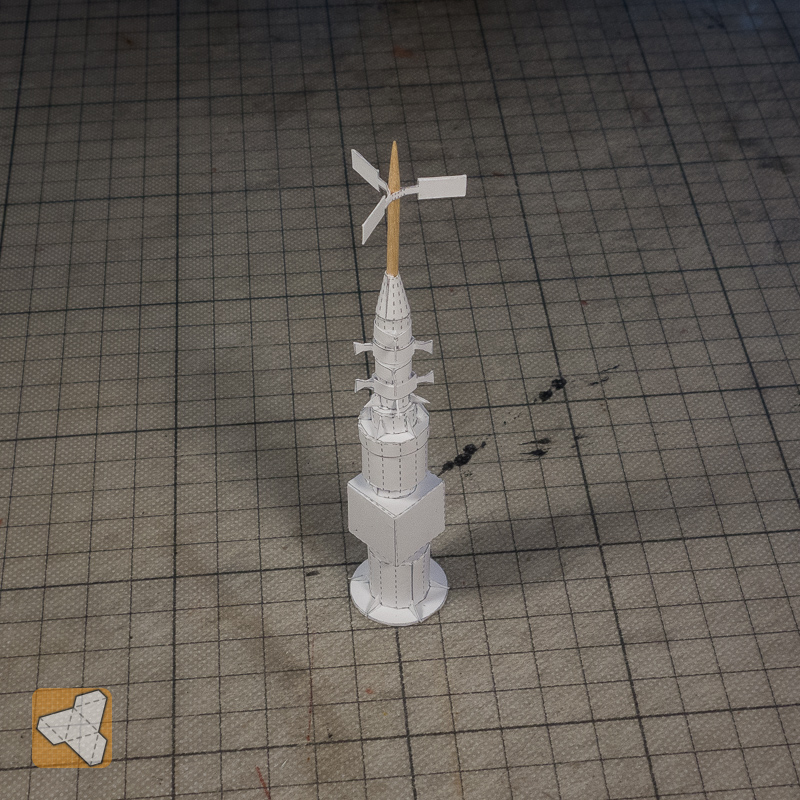 And finally the outer pole thingies. One could skip the details and I guess it would still look ok.  Need to make a little adjustment with the attachment of the outer poles and then it's on to texturing! |
|
|
|
Post by Vermin King on Feb 23, 2017 7:11:03 GMT -9
The center spine will definitely help with alignment, and should help it be more sturdy
|
|
|
|
Post by lightning on Feb 24, 2017 5:26:29 GMT -9
The center spine will definitely help with alignment, and should help it be more sturdy I don't know if I am just too clumsy but the build before that was really crooked. This way it looks much better |
|
|
|
Post by mproteau (Paper Realms) on Feb 24, 2017 5:43:00 GMT -9
I don't build nearly as much as I want to (like... almost nothing these days...) but I *love* watching these in-progress steps. It really showcases just how much energy goes into designing models. Thank you for taking the time to post all of the updates!!!
|
|
|
|
Post by Vermin King on Feb 24, 2017 6:20:12 GMT -9
ditto. Sometimes I wonder if I'm putting too much info into my design threads, but then sometimes, I hit a roadblock and going through the old posts, I get an idea on how to overcome.
Seeing how other people deal with design issues sometimes helps to spur ideas on totally different issues.
I'm still more of a modeler than a designer. I see something I want to model, and generally work with photos or illustrations to get the components I put together. Seeing white builds like Chris and Dave do, totally has me in awe
|
|
|
|
Post by lightning on Feb 24, 2017 22:11:40 GMT -9
...Seeing white builds like Chris and Dave do, totally has me in awe Woah! Me in a sentence with Dave ... that's an honour Next step: the texturing. I made a first texturing build ... and messed a couple of things up but one can see where it is heading. I did not add the little details because I wanted to see if the texturing would cover them missing. Doesn't look too bad at this stage. I'll add the small details today or tomorrow. 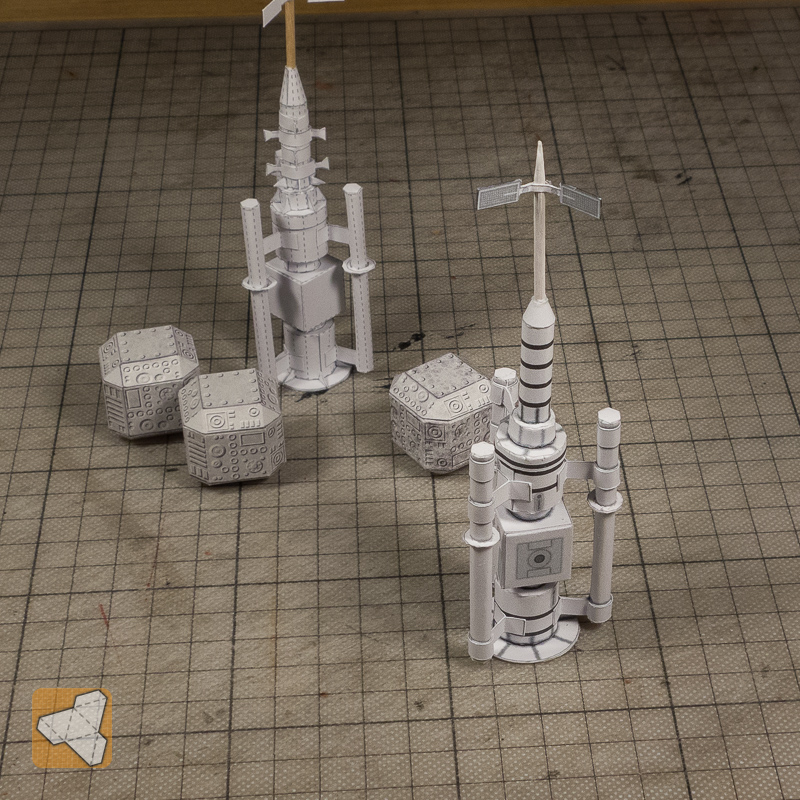 |
|
|
|
Post by lightning on Feb 28, 2017 0:03:16 GMT -9
Managed to NOT mess this build up Practice makes perfect! After adjusting some minor things I was able to complete the final version. On to instructions! 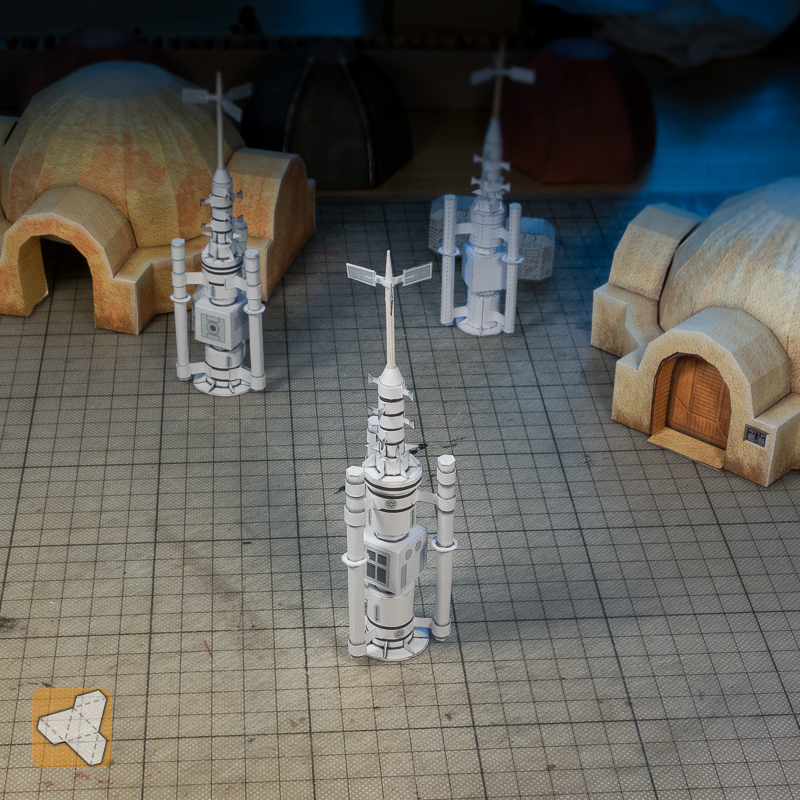 |
|
|
|
Post by lightning on Mar 1, 2017 7:02:06 GMT -9
First look at the weathered version. Need to add the extending poles tomorrow but doesn't it look live and used now? 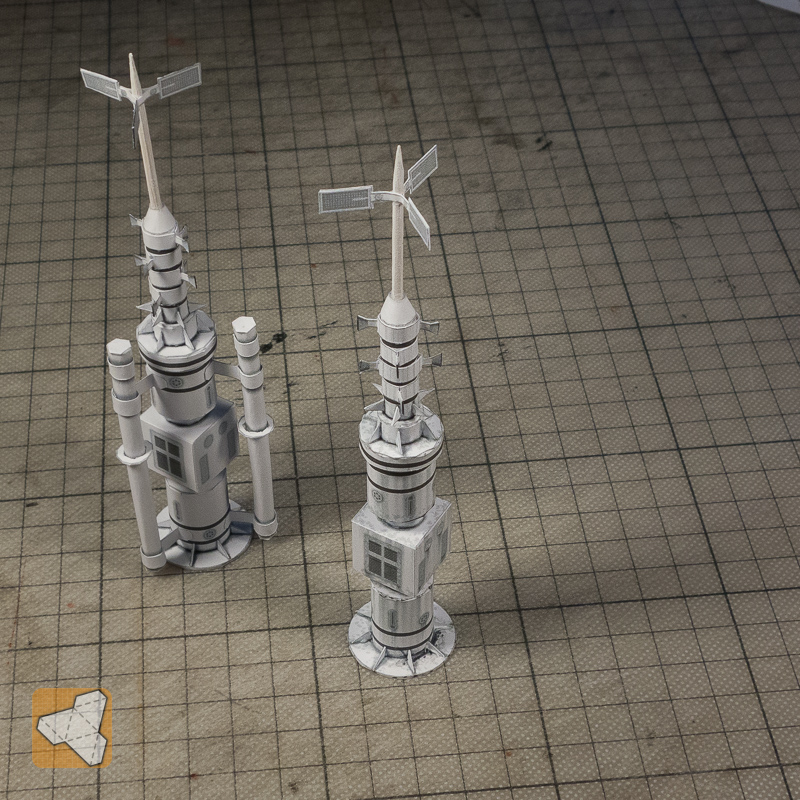 |
|
|
|
Post by oldschooldm on Mar 1, 2017 7:27:03 GMT -9
Shouldn't the weathering be brown (from blowing sand) and pitted, instead of black and runny (from carbon/smoke/rain)?
To me it looks like weathering on a planet that has, well, weather.
|
|
|
|
Post by lightning on Mar 1, 2017 7:40:13 GMT -9
Good point :-) I was surprised myself when I looked at images of the vaporators used in the movies. They are all freakishly white with these gray blurry stripes. I don't know if they color grade it in post or it is just golden hour when they filmed but I will add color variation layers in any case. Thinking about sand brown, light and dark grey and maybe a rusty version ...
|
|
|
|
Post by lightning on Mar 2, 2017 4:40:21 GMT -9
Finished the dirty build today ...  ... and having a little fun with Princess Leia :-)  |
|
|
|
Post by Vermin King on Mar 2, 2017 5:14:38 GMT -9
That is looking very good. What is your estimated build time on this? For a person's first attempt
|
|
|
|
Post by lightning on Mar 2, 2017 6:54:51 GMT -9
That is looking very good. What is your estimated build time on this? For a person's first attempt The core tower without the small details is fast. 1 hour I would say? Then add another hour for the details  And I have used a white painted toothpick. One could obviously make this with paper too but calculate the time it takes you to get and paint a toothpick white! |
|
|
|
Post by mproteau (Paper Realms) on Mar 2, 2017 9:53:40 GMT -9
Was that assuming a machine cutter, or assuming cut by hand? Just curious.
|
|
|
|
Post by lightning on Mar 2, 2017 11:15:00 GMT -9
Was that assuming a machine cutter, or assuming cut by hand? Just curious. Hand cut! I tried a version earlier with the machine but the small details just got shredded :-) I think for them one should do them all manual or just certain cuts and the rest manual ... |
|
|
|
Post by mproteau (Paper Realms) on Mar 2, 2017 11:43:40 GMT -9
I was wondering... for tiny parts designing the cutfiles so they overcut individual lines rather than trying to take tight corners might help. Also, don't even bother trying to "score" really tiny parts...
|
|
|
|
Post by lightning on Mar 2, 2017 23:31:51 GMT -9
I was wondering... for tiny parts designing the cutfiles so they overcut individual lines rather than trying to take tight corners might help. Also, don't even bother trying to "score" really tiny parts... As most users don't even user auto cutters I optimize these things for manual cutting, so all small parts next to each other to minimize the cutting lines. Auto cutter users can always modify and optimize their cutfiles to their needs (and erase cutlines that don't work). So working on the instructions today ... and made this teaser image :-) 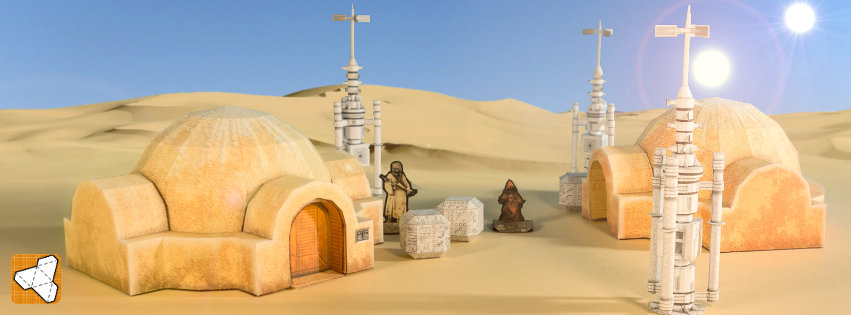 |
|


