|
|
Post by Vermin King on Jun 13, 2023 13:47:34 GMT -9
Okay, it is pretty obvious that I like practically anything he does, so when ignatious had a couple questions on enlarging the PT-3, I told him to send me what he's got and we can do a group build. Not a fast build, because neither of us has a whole lot of time, at least not time that can be blocked out just for this. If you are not familiar, the PT-3 Shuttle is part of his new world to populate, Coral Explorer. There is also the Coral Armada Military sets. 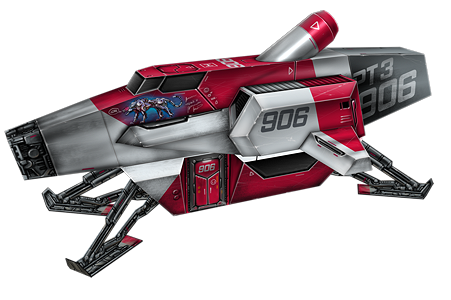 I'm glad I posted the links, because you won't find links on Jan's site any more. www.alienspapercraft.com/coral-explorer.htmlI was going through ignatious's files and realized I need numbers to go along with the instructions, so I added them. If I remember correctly, besides recoloring, he enlarged by about 43%. I also did a page of soldiers and explorers to go with it. 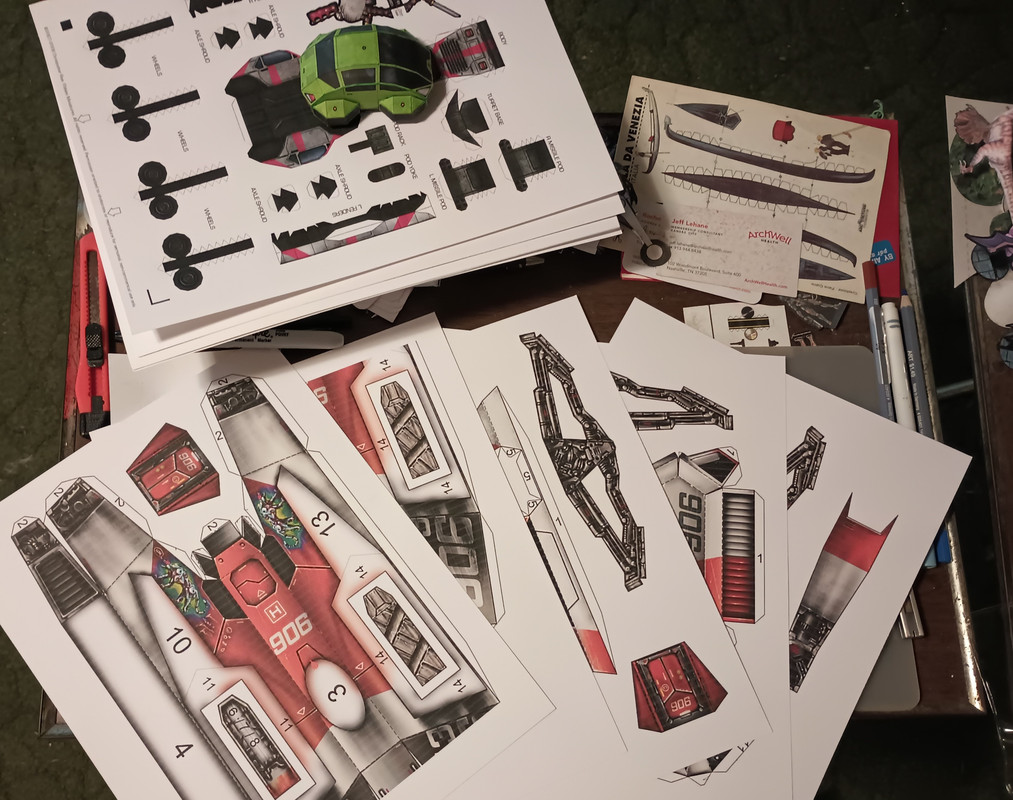 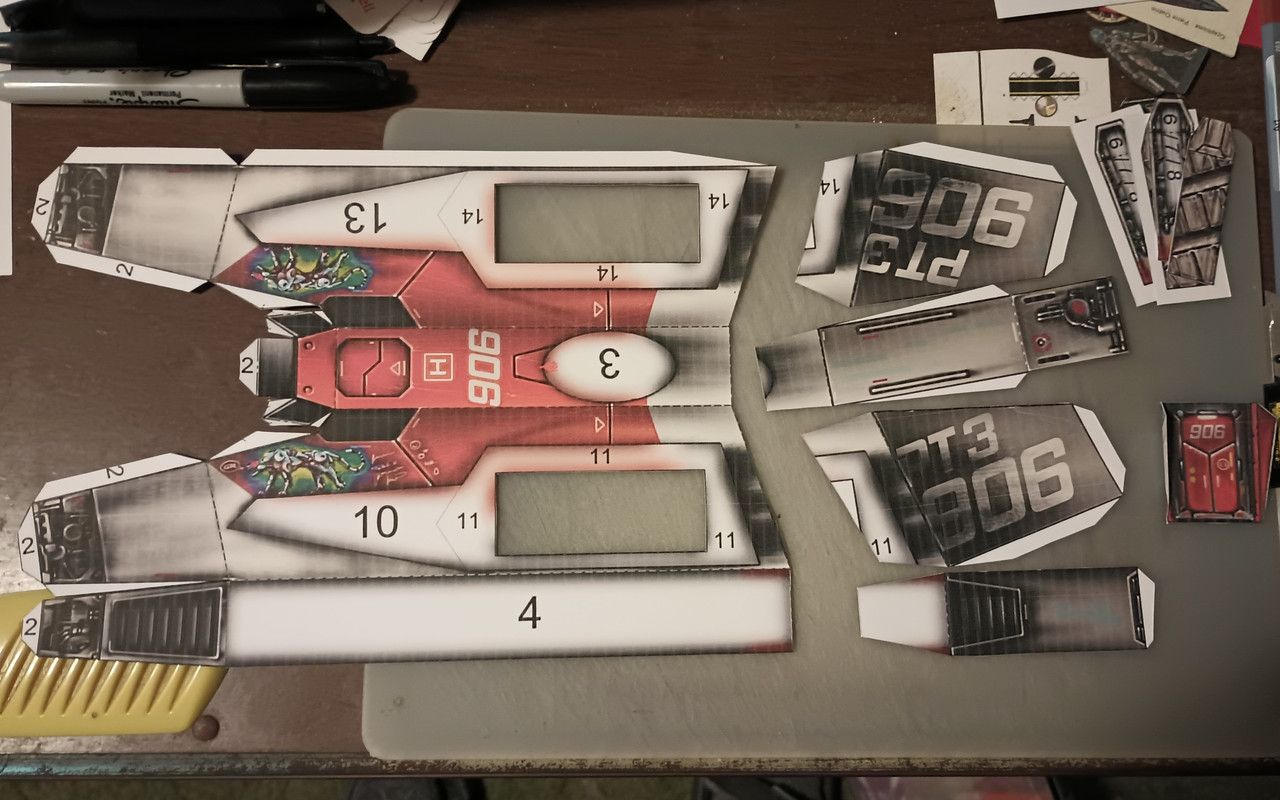 And if you want to follow along, here are the instructions 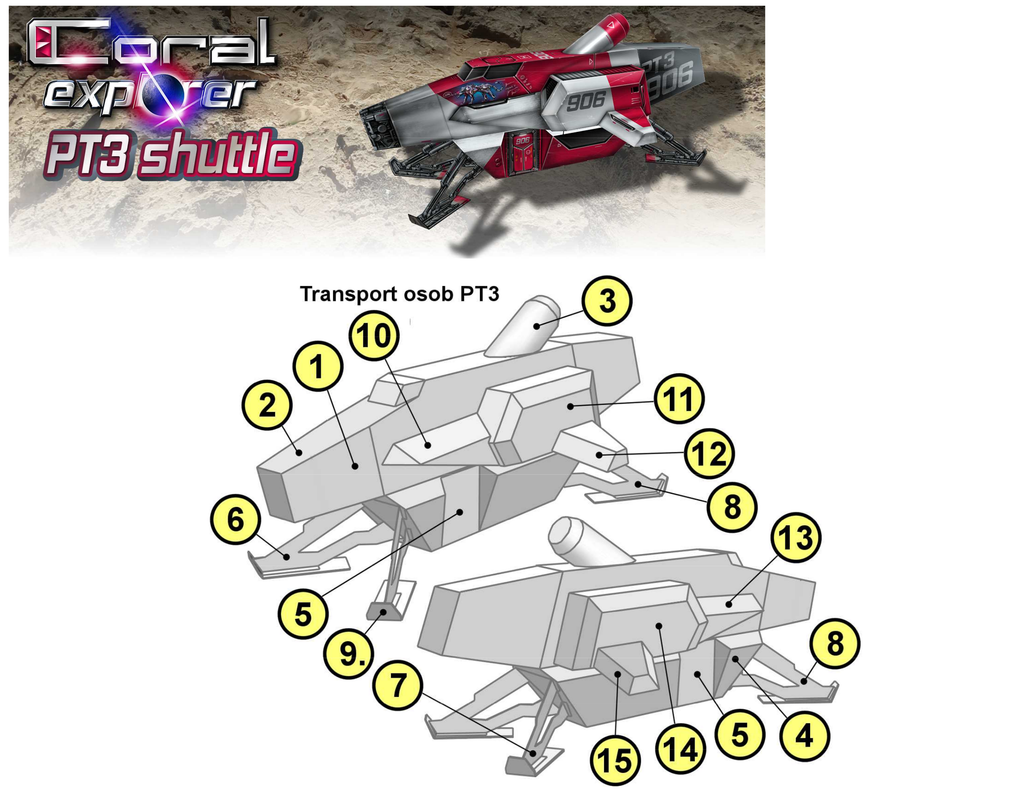 Having to break up the part 1 pieces, I first needed to figure out where to break them up that made sense and pretty much decided to go with the files at hand. I considered gluing an extra layer of card inside, but decided it won't be necessary These parts are scored and cut out at this point, but I need to edge before I build |
|
|
|
Post by Vermin King on Jun 13, 2023 18:08:07 GMT -9
So part one is the main fuselage, only it is in multiple parts to accommodate the enlargement. I decided to go ahead and cut out part 2, the top of the nose and put the cabin and nose together first, since I imagined all kinds of horrors if I tried to do it later. It worked.   I have yet to see one of Jan's models where you don't proceed numerically, but part 3 is the cylindrical doo-hickey on top. I usually save 'ostentation' and 'adornment' for the end. Going onto 4, the lower level with 5, the doors, makes sense, but then come the legs instead of the sides. Hmmm. I am going to go against my gut and keep going numerically.  The only thing I would do differently would be to make some boxes incorporated into the fuselage for added strength. I used 110 lb cardstock, but it seems a bit fragile. Lower body and sides will help strengthen things EDIT -- Didn't someone want a futuristic hover train a while back? A bit of retexturing, and I think you'd have it |
|
|
|
Post by Vermin King on Jun 14, 2023 9:18:39 GMT -9
Thanks for the Windows Update, dear sirs at Microsoft. Put me out of commission for almost 2 hours this AM, so started on parts 3, 4 and 5(X2)  EDIT -- They actually went together rather well   Now, the 6's, 7's, 8's and 9's  |
|
|
|
Post by Vermin King on Jun 14, 2023 17:21:27 GMT -9
One nice thing about going in numerical order is that there really aren't that many parts left when the legs and feet are finished.  Lots of little angle things to cut out. All those little cuts (and Mauther posting about an Eiffel Tower model the other day) reminded me about a gentleman who did a detailed model of the Eiffel tower. He cut out All of those little triangles. Geez I still need to edge these and pre-form before putting them together, but after that there are only six parts left. I will also do the nine figures before I call this done. |
|
|
|
Post by Vermin King on Jun 15, 2023 13:15:43 GMT -9
Decided to put the front and rear landing gears together before attaching to the shuttle  Going to do one side at a time to finish up. First up 10, 11 and 12  Not sure if it was designed to do this or not, but gravity gets the feet to lie flat. Could just be luck, but I doubt it |
|
|
|
Post by Vermin King on Jun 15, 2023 18:00:21 GMT -9
Well ... That wasn't much fun. All my comments I made about how things should be differently done on the larger model is true. 1) Internal boxes in the fuselage for more rigidity 2) Many of the parts should be closed boxes instead of having tabs to connect the different structures. I did finish one side, but it required a lot of contortion through the hole in the other side to get the 10/11/12 substructure attached.   I am going to glue strips of cardstock inside the fuselage on the other side to give it more strength, and make a plate to glue parts 13 & 14 to, which will give me a solid substructure to glue onto the far side. Part 15 is also getting a base plate. Otherwise it is highly unlikely that these will go together in an acceptable fashion. I don't know this as fact, but I assume that these were designed to be published in ABC magazine. It needed to be one page and no more. But we don't have to do that, so I am not going to build it entirely 'straight' |
|
|
|
Post by Vermin King on Jun 17, 2023 4:04:50 GMT -9
Well, spent time reinforcing the remaining side, making internal boxes, and making base plates for parts  I needed the plates for the parts 13, 14 and 15, but did not need the one for the other side, so I cut the 10/11/12 part out and glued it inside the fuselage, too. Should give a solid base to glue the final assembly to. But ran out of time to finish last night. Will have to wait until next week.   |
|
|
|
Post by Vermin King on Jun 19, 2023 8:20:05 GMT -9
|
|
|
|
Post by ignatious on Jun 19, 2023 11:32:36 GMT -9
Ok, I'm kind of catching up. Here's where I'm at. Cut and partially edged/prefolded. I also realized, after cutting, that the holes in the body were for saving space as opposed to build/structure. I am in the habit of lining all of my models with thin cardboard, particularly long flat parts for added rigidity, so I think I will see where that will get me. Vermin King how did you go about part 2 attaching to the cockpit?  |
|
|
|
Post by Vermin King on Jun 19, 2023 12:13:39 GMT -9
Before I closed up the fuselage, I built the little cockpit area and attached part 2 to it. Closing up the fuselage, I started that process by attaching part 2 to the tops of the nose on each side.
Even with the added cardboard, you might want to use the internal boxes, and I would definitely build the side parts with the bases. Makes things a lot easier. that plate to turn part 4 into a box is also helpful. The one for part 3 helps, but not that much
|
|
|
|
Post by ignatious on Jun 19, 2023 13:11:44 GMT -9
Plates to boxes. I'm all in for that, thanks for those. Hopefully I'll get some more done tonight.
|
|
|
|
Post by Vermin King on Jun 19, 2023 14:48:03 GMT -9
|
|
|
|
Post by ignatious on Jun 19, 2023 22:02:26 GMT -9
Main body done. Just landing gear and the top thing to go.  |
|
|
|
Post by ignatious on Jun 20, 2023 5:53:36 GMT -9
and... Ta-da.  |
|
|
|
Post by hackbarth on Apr 24, 2024 10:57:15 GMT -9
This enlarged PT-3 Shuttle is available for download anywhere?
|
|
|
|
Post by Vermin King on Apr 24, 2024 11:53:39 GMT -9
|
|


