


Post by gecko on Aug 27, 2009 16:16:58 GMT -9
So, haven't got anything new just yet, but I figured I'd give a general rundown of my design process for the platform terrain I'd whipped up.
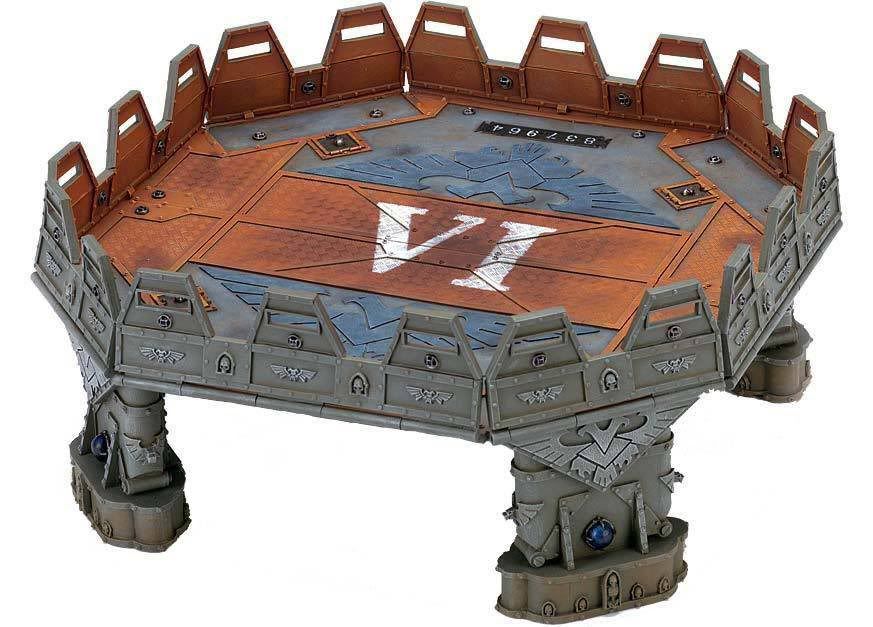
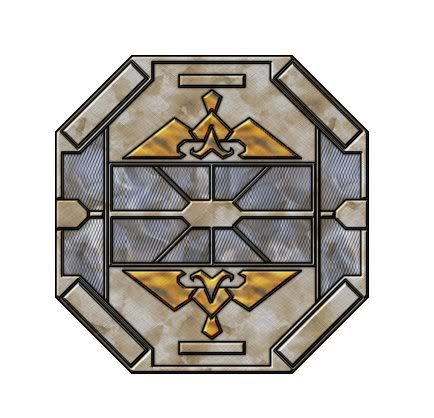
To start, the goal of my design was to be similar to this:
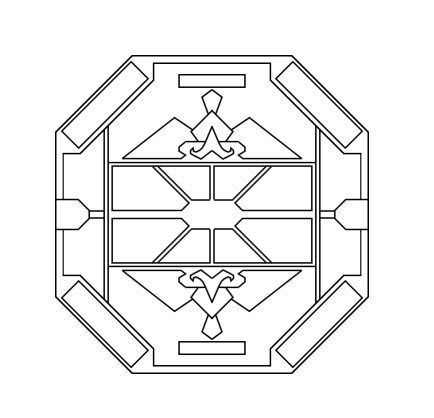
Step one was the lines. Sometimes I'll freehand a project, especially if it's a detailed mini that I want to make sure I get proportions right on, but in this case I just did it digitally to skip the whole scanning phase.
Following that, I apply a basic texture to the different areas based off what I want them to look like. At every stage of texturing, I also fool around with overlaying layers, opacity, multiply etc. to get the effect I want.
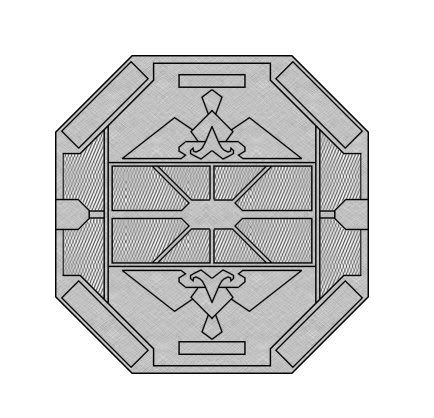
In this case, I also wanted a texture to make the whole thing look dirty and beat up, so I applied a texture across the whole thing, set to multiply.

Following that, I slapped on a few more textures and fiddled with the color/saturation until they were what I wanted, and set them to hard light.
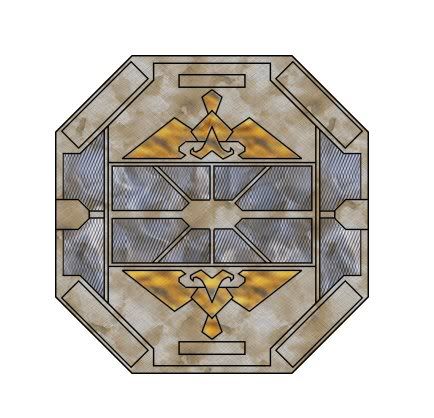
To finish the actual graphic, I merged the base texture layer and the grimy layer, and used the bevel tool to make certain areas "pop", though this wasn't used on every area. Also, by swapping the direction of the light 180 degrees, you can make the effect of a "drop" as well, which I used on some areas on the bulkheads.
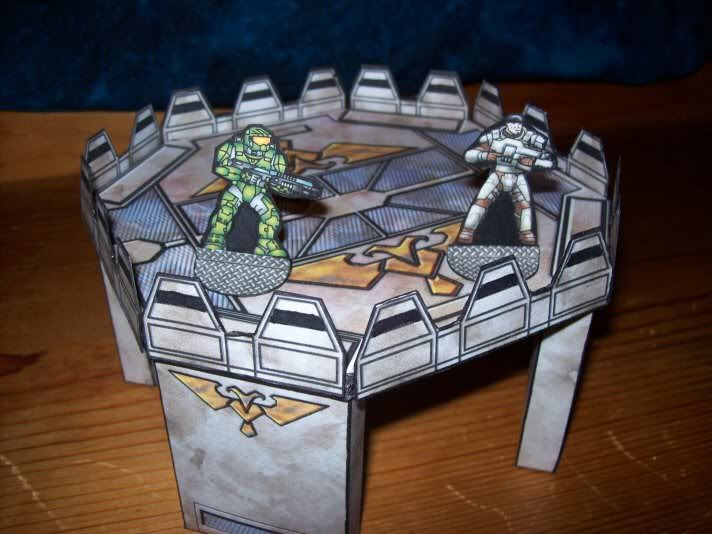
This basic process was followed for the side shields and the bulkheads as well, using the same basic textures to ensure they fit with one another. After that, I printed them all out, glued the platform onto foamcore, cut it out and attached the bulkheads and shield sections. An viola! Finished project. or in this case, beta test project, but w/e
-gecko
To start, the goal of my design was to be similar to this:
Step one was the lines. Sometimes I'll freehand a project, especially if it's a detailed mini that I want to make sure I get proportions right on, but in this case I just did it digitally to skip the whole scanning phase.
Following that, I apply a basic texture to the different areas based off what I want them to look like. At every stage of texturing, I also fool around with overlaying layers, opacity, multiply etc. to get the effect I want.
In this case, I also wanted a texture to make the whole thing look dirty and beat up, so I applied a texture across the whole thing, set to multiply.
Following that, I slapped on a few more textures and fiddled with the color/saturation until they were what I wanted, and set them to hard light.
To finish the actual graphic, I merged the base texture layer and the grimy layer, and used the bevel tool to make certain areas "pop", though this wasn't used on every area. Also, by swapping the direction of the light 180 degrees, you can make the effect of a "drop" as well, which I used on some areas on the bulkheads.
This basic process was followed for the side shields and the bulkheads as well, using the same basic textures to ensure they fit with one another. After that, I printed them all out, glued the platform onto foamcore, cut it out and attached the bulkheads and shield sections. An viola! Finished project. or in this case, beta test project, but w/e
-gecko


